
Resurrection Cookies
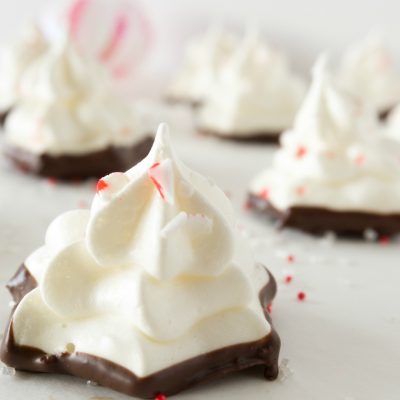
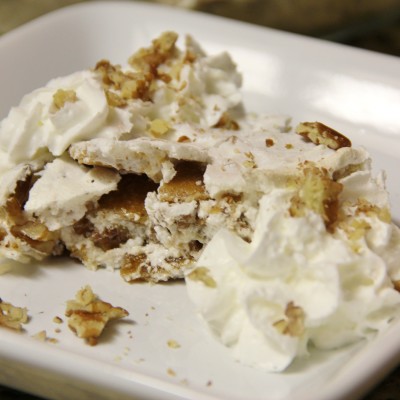
Chocolate Dipped Peppermint Meringues (Keto friendly)
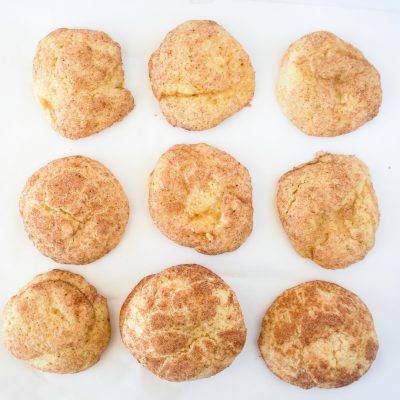
Pumpkin Spice Cookie Recipe (Pumpkindoodles)
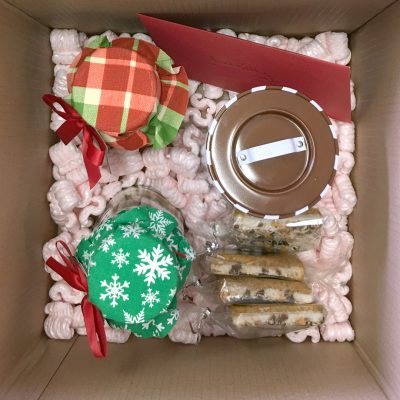
How to Ship Baked Goods

The Best Kitchen Tools for Baking
Gluten Free Empty Tomb Rolls
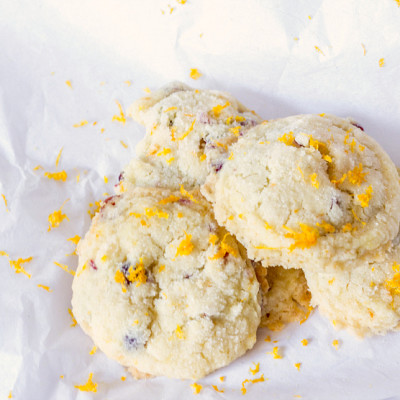
Orange Cranberry Sugar Cookies {Gluten & Dairy Free}
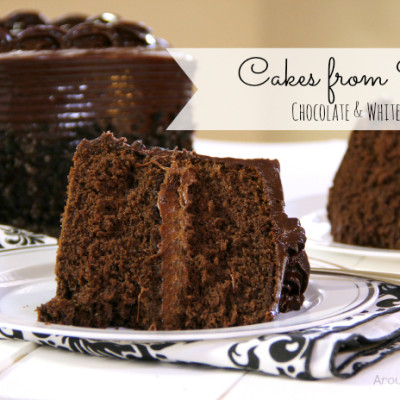
Cooking 101 Basics Week #12 – Cakes from Scratch
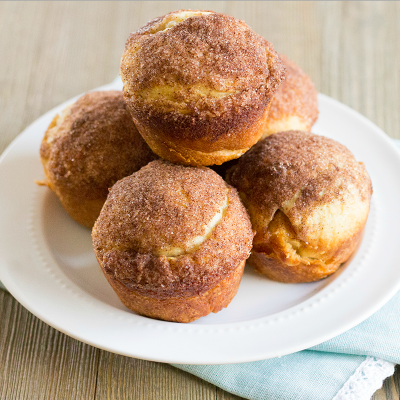
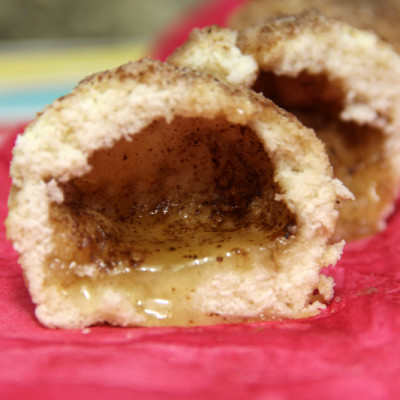
Empty Tomb Rolls
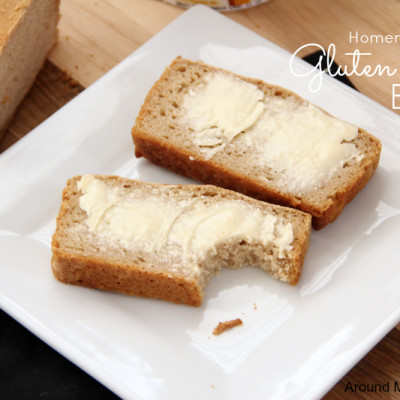
Homemade Gluten Free Bread
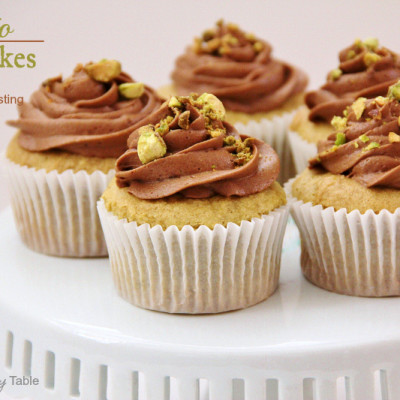
Pistachio Cupcakes
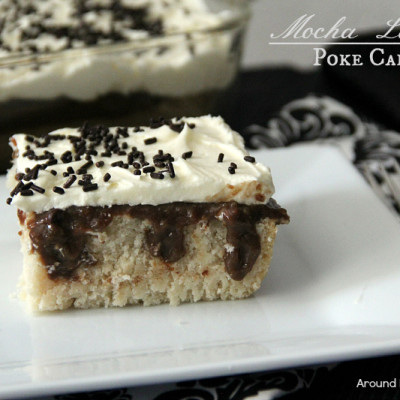
Mocha Latte Poke Cake
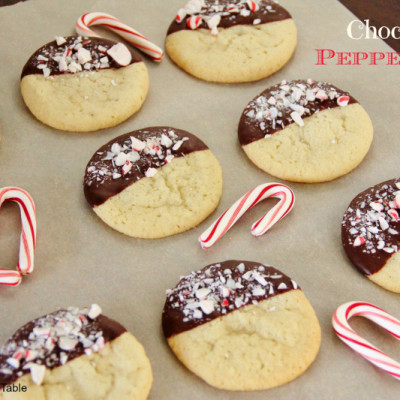
Chocolate Peppermint Cookies
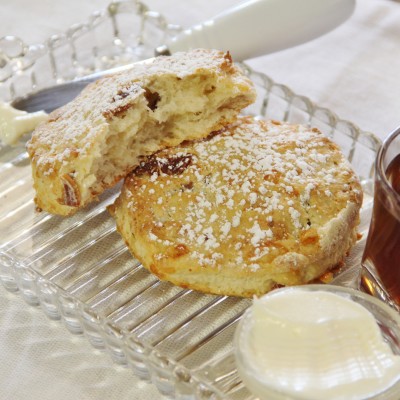
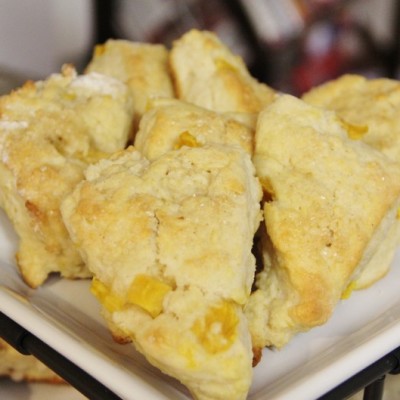
Bacon Cheddar Scones
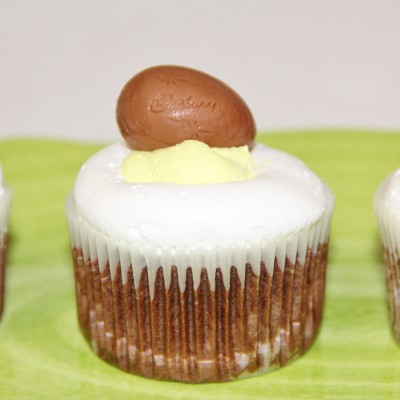
Cadbury Egg Cupcakes
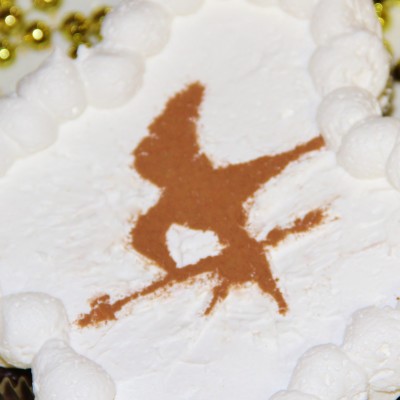
Hunger Games Cupcakes

Samoa Cupcakes
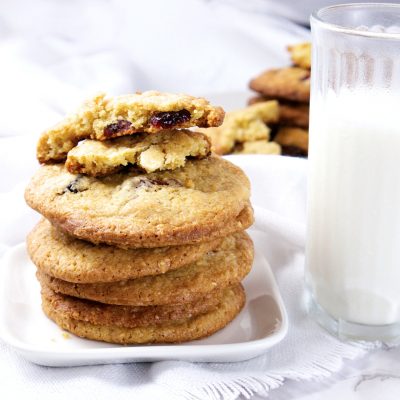
Cranberry White Chocolate Cookies
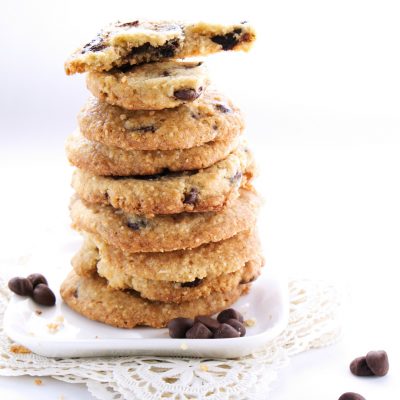
Crispy Chocolate Chip Cookies
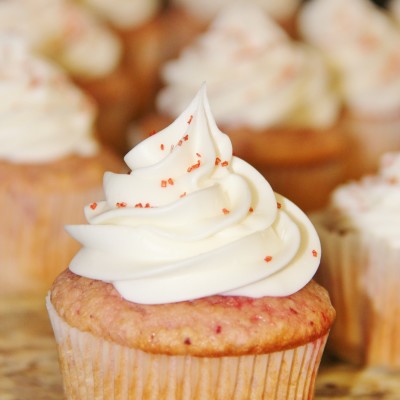
Fresh Strawberry Cupcakes with Almond Buttercream
Butternut Brownie Pie
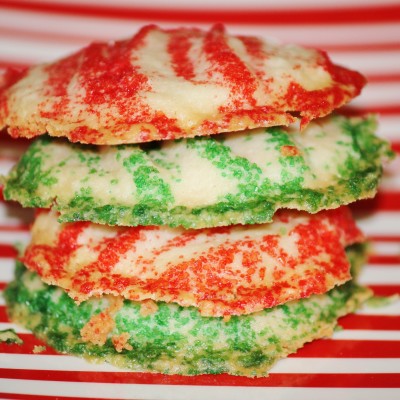
Christmas Buttercrisp Cookies
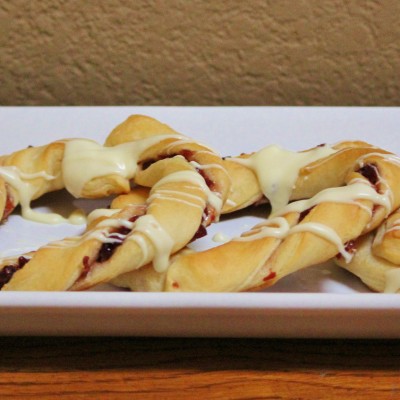
Crescent Cranberry Wreaths
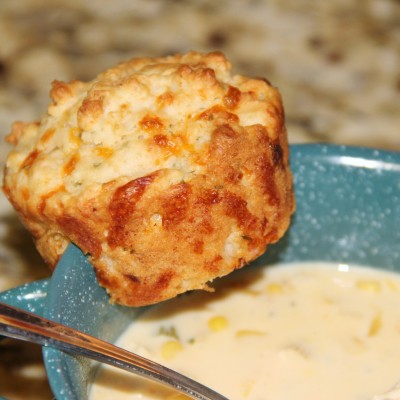
Cheddar Muffins
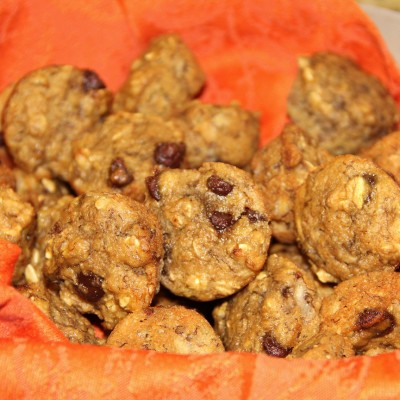
Banana Oatmeal Chocolate Chip Muffins
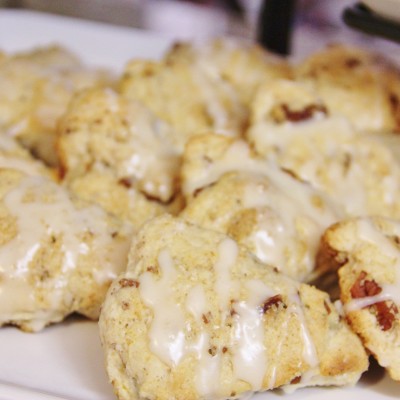
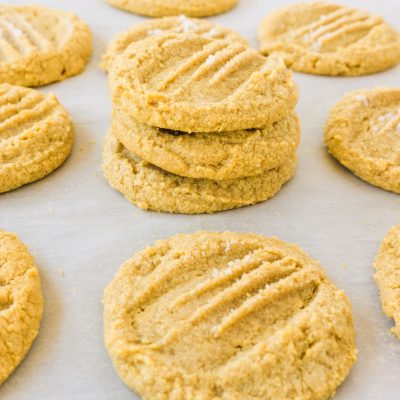
Maple Pecan Scones with Maple Glaze