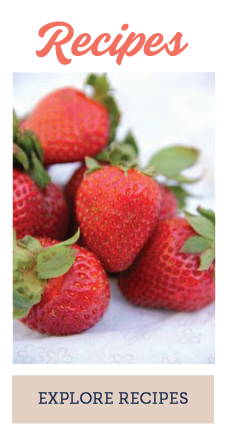
Around My Family Table
I believe getting together around the supper table is important for all families. Let me help you get there faster with my quick and easy, family-friendly recipes.
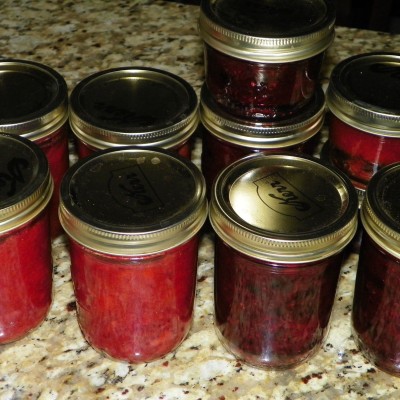
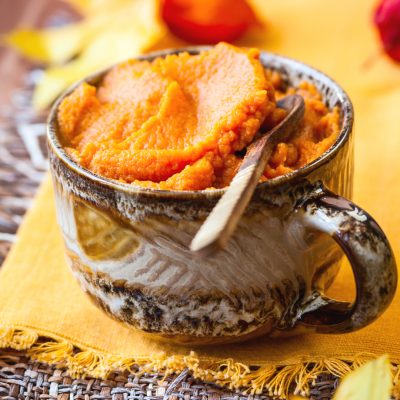
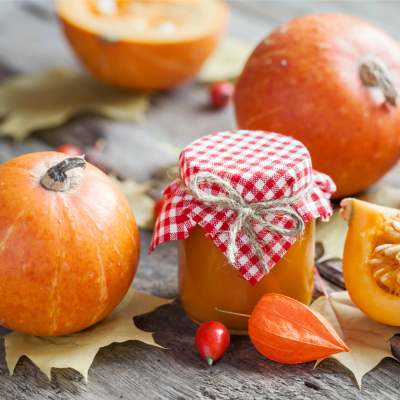
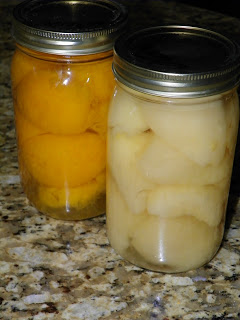
canning
By Wendy O'Neal 8 Comments
By Wendy O'Neal 16 Comments
By Wendy O'Neal 11 Comments
By Wendy O'Neal 2 Comments