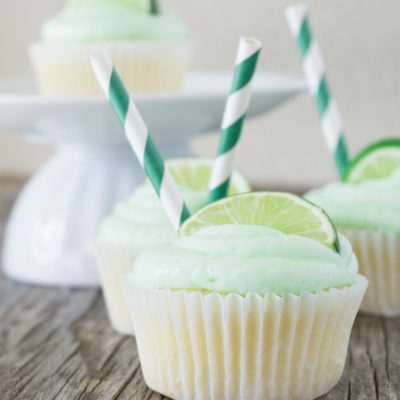
Margarita Cupcakes
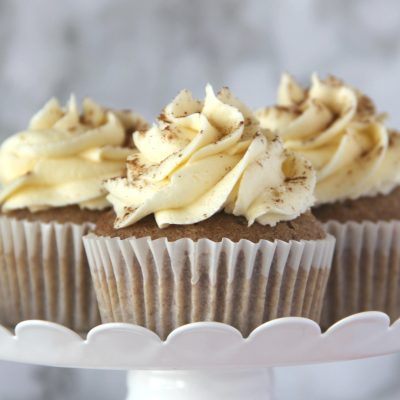
Pumpkin Pie Spiced Cupcakes
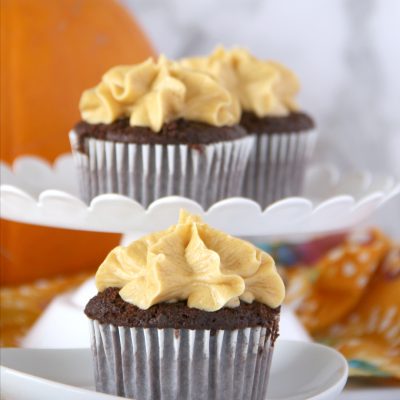
Cupcakes with Pumpkin Buttercream Frosting
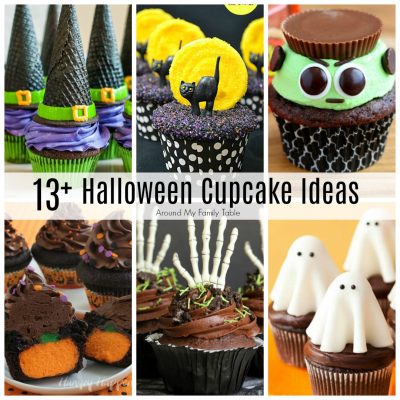
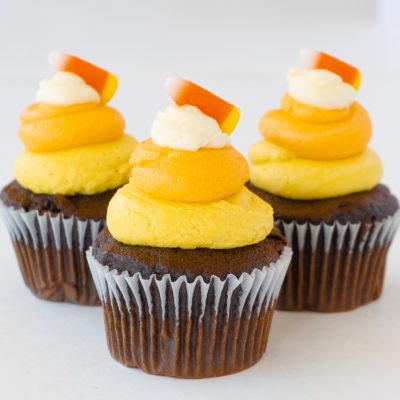
Halloween Cupcake Ideas
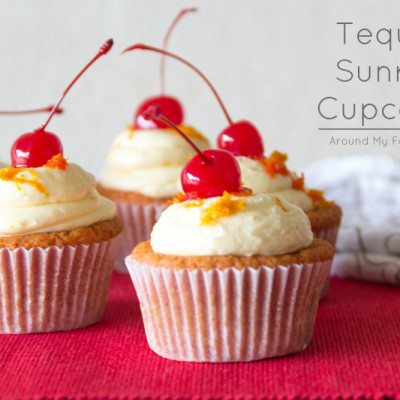
Tequila Sunrise Cupcakes
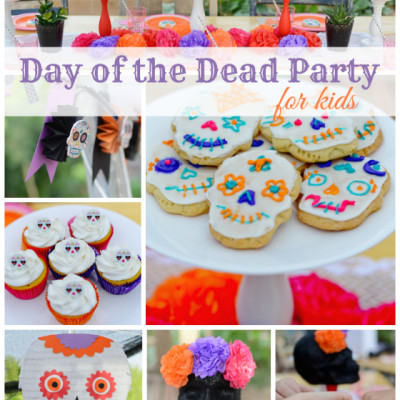
Day of the Dead Party
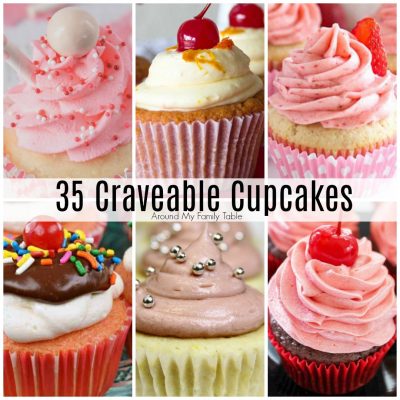
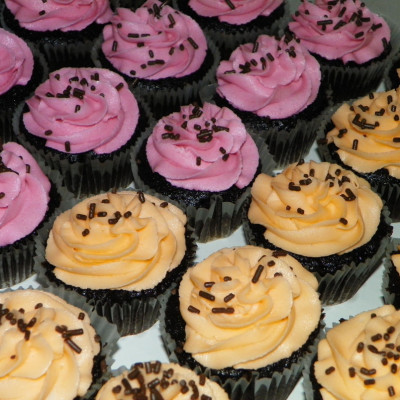
35 Craveable Cupcakes
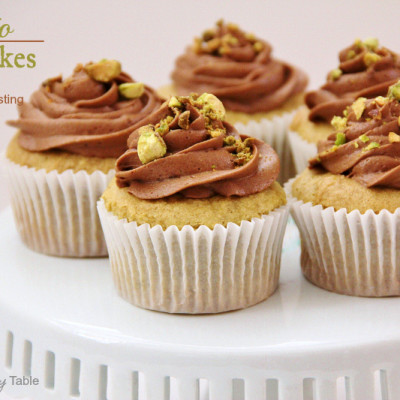
Pistachio Cupcakes
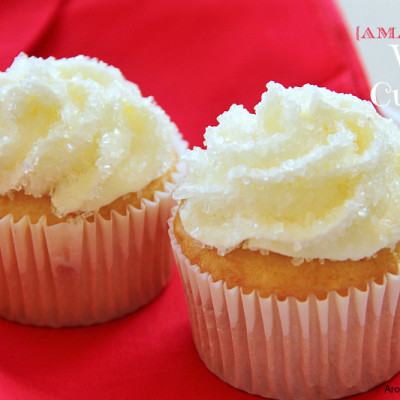
Amazing White Cake
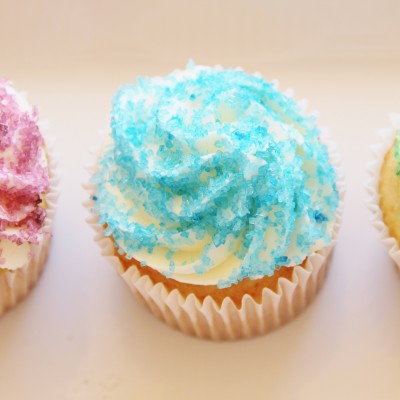
Princess Sparkle Cupcakes
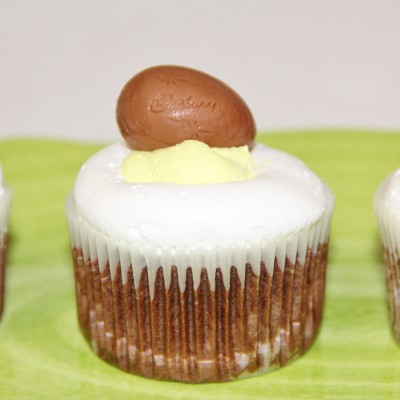
Cadbury Egg Cupcakes
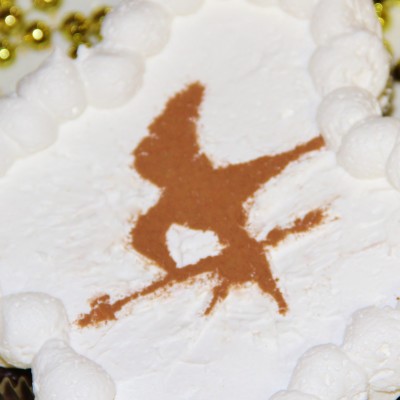
Hunger Games Cupcakes

Samoa Cupcakes
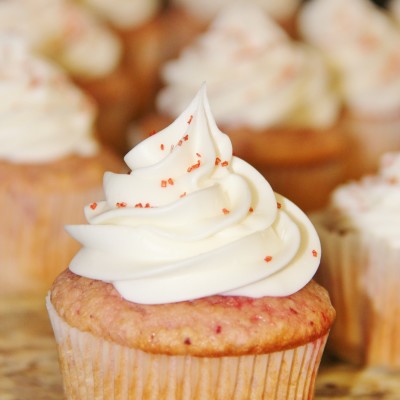
Fresh Strawberry Cupcakes with Almond Buttercream
Perfect Chocolate Cake
Thin Mint Cupcakes with Chocolate Mint Frosting
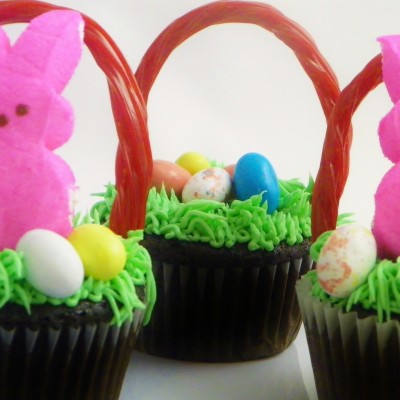
Fun Easter Basket Cupcakes
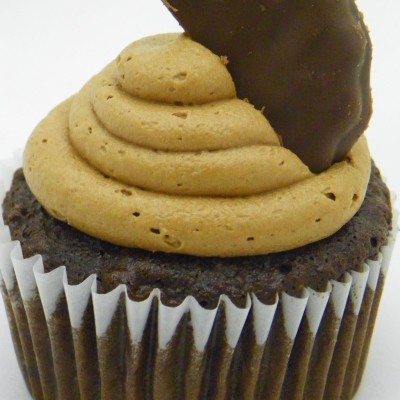
Chocolate Cupcakes with Nutella Frosting
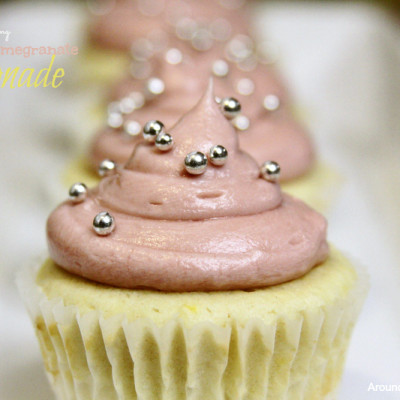
Pomegranate Lemonade Cupcakes

Football Cupcakes
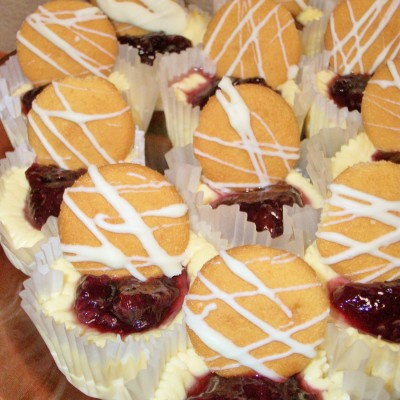
Mini Cheesecakes