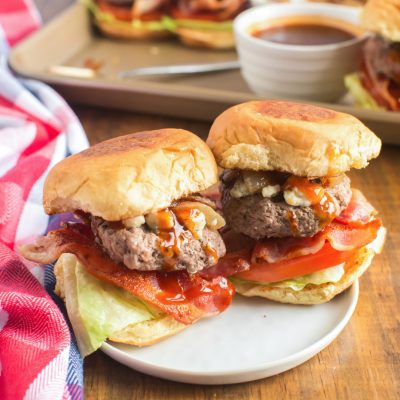
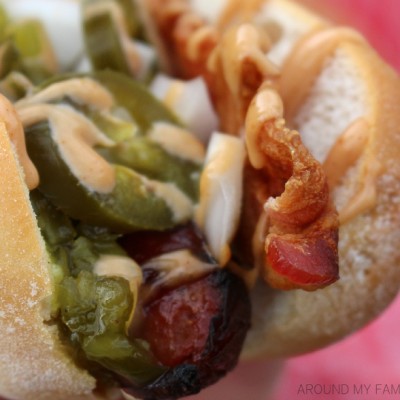
Bacon BBQ Blue Sliders
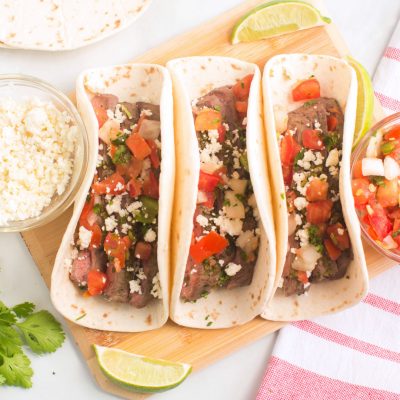
Steak Street Tacos
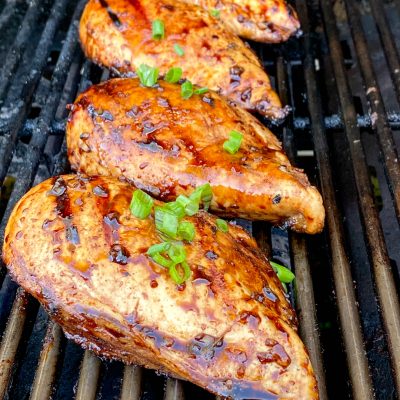
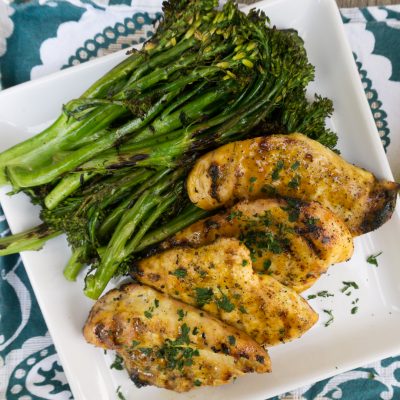
Grilled Balsamic Marinated Chicken
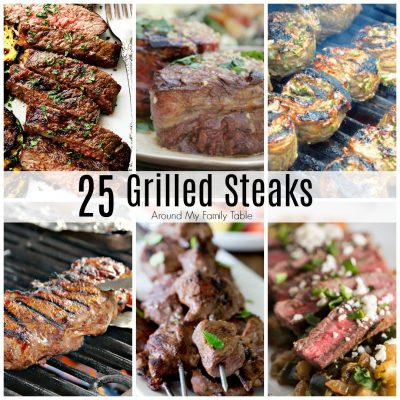
25 Grilled Steak Recipes
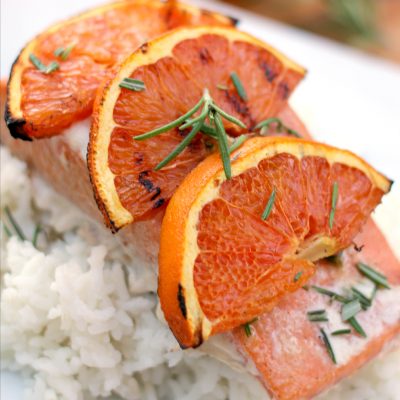
Orange Rosemary Grilled Salmon
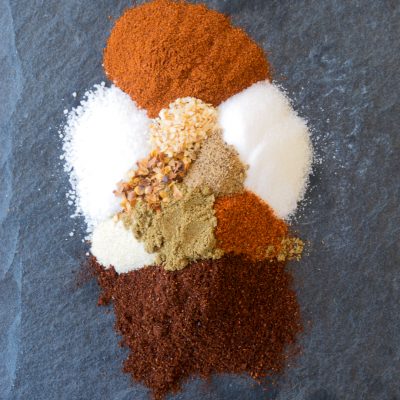
Chicken Fajita Seasoning
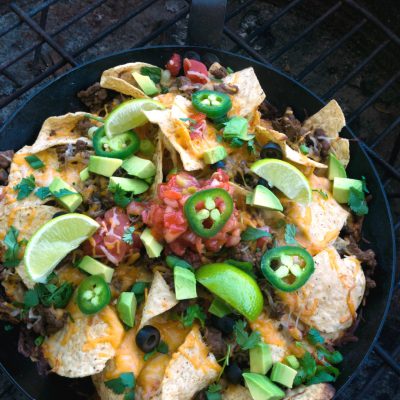
Beefy Campfire Nachos
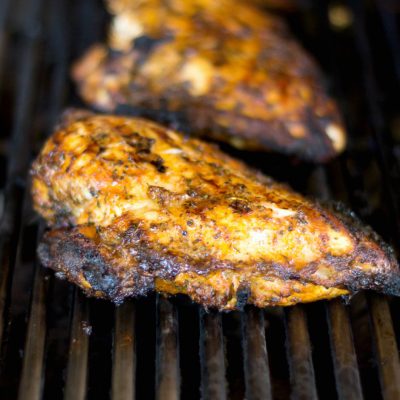
Grilled Creole Chicken
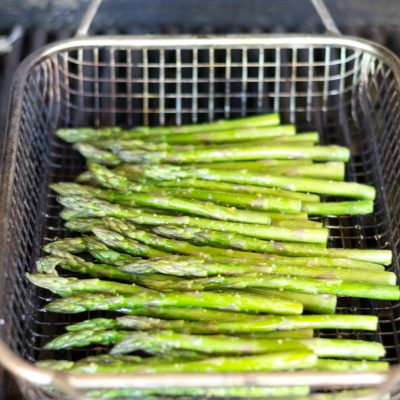
Best Grilled Asparagus

Brat & Vegetable Kabobs with Mustard BBQ Sauce
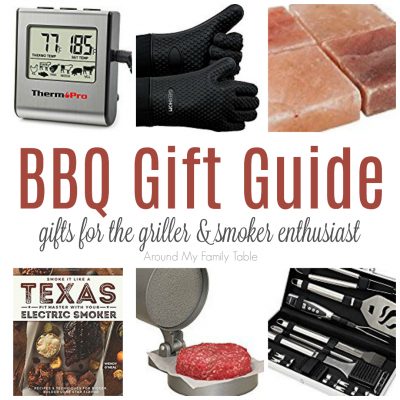
BBQ Gift Guide
How to Grill Chicken
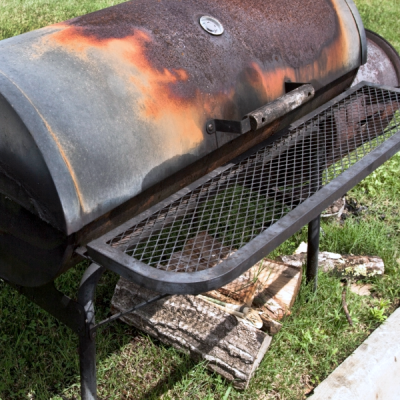
How to Grill: Using a Smoker
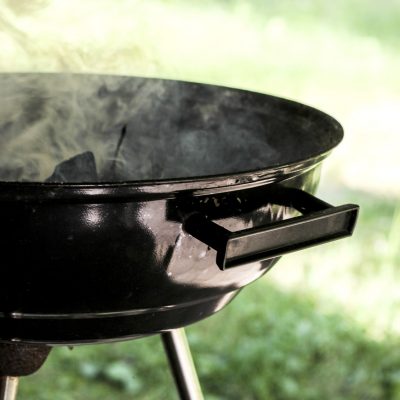
How to Grill using a Charcoal Grill

How to Grill using a Gas Grill
Grilled Chicken with Mustard Maple Glaze

Best Backyard Burger & Dog Recipes
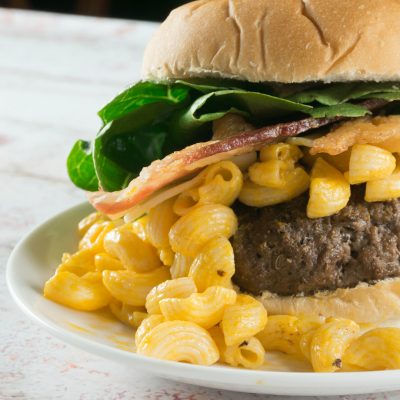
Mac & Cheese Burger
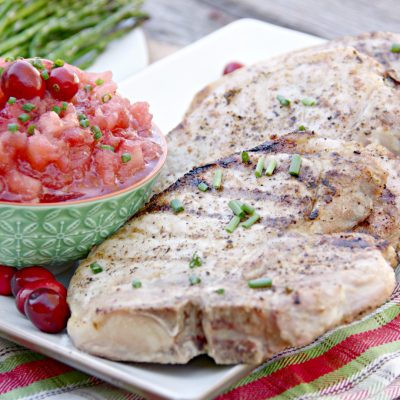
Grilled Pork Chops with Cranberry Applesauce
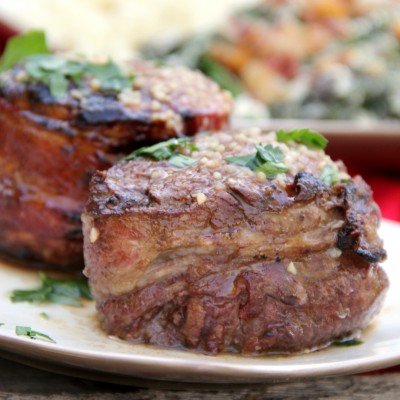
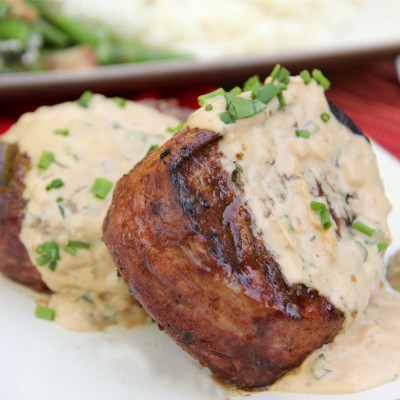
Steak with Garlic Butter Sauce
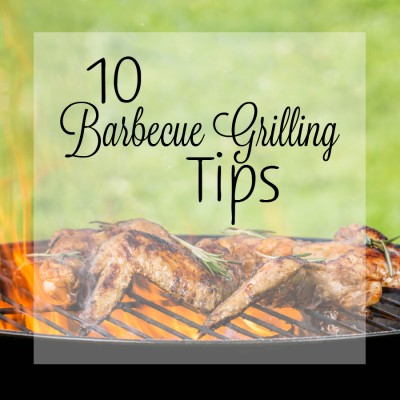
10 Barbecue Grilling Tips
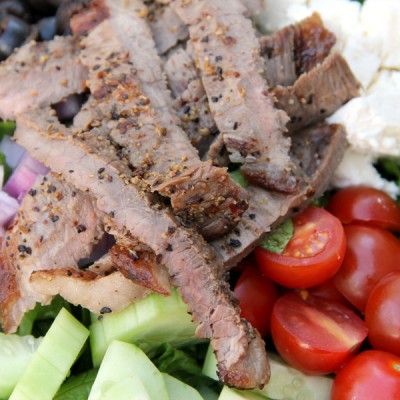
Steak and Feta Salad

How to Clean Your Grill
Devil Dogs
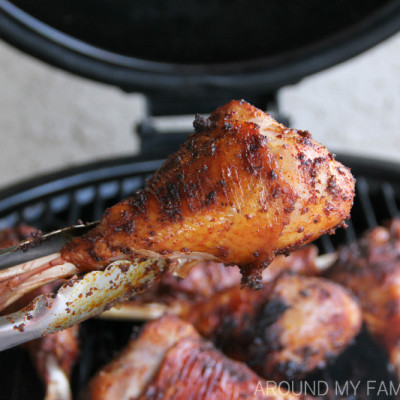
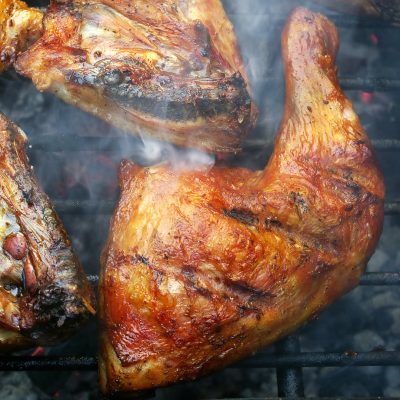
Giant Fair-Style Turkey Legs
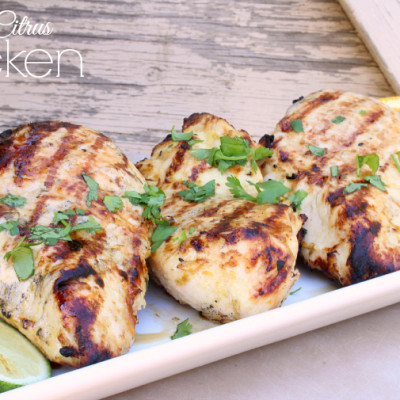
Triple Citrus Chicken