
Healthy Layered Taco Dip
Southwest Avocado Hummus

Surf’s Up Birthday Party
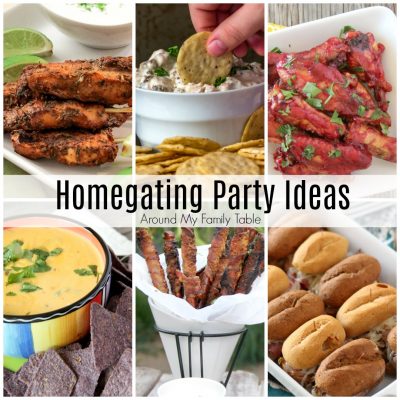
Homegating Party Ideas
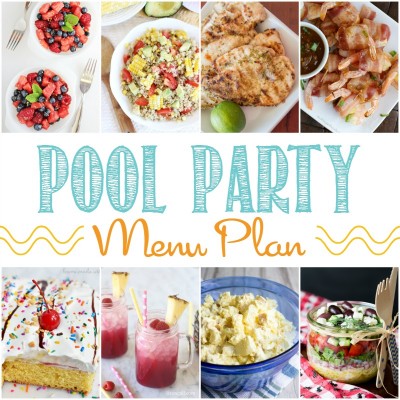
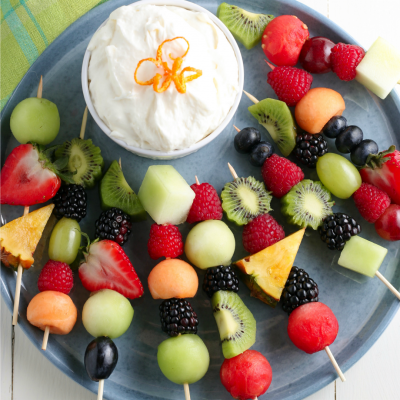
Perfect Pool Party Menu
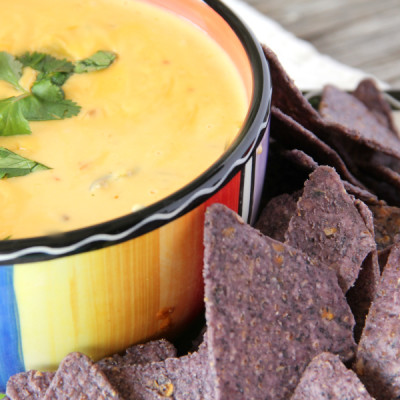
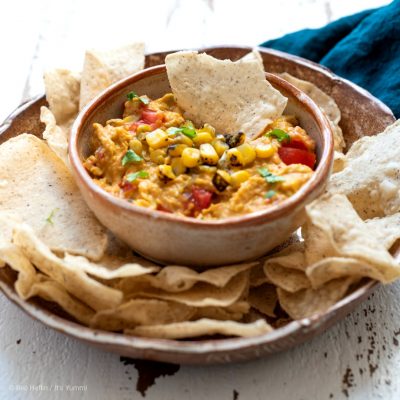
The Best Chile con Queso
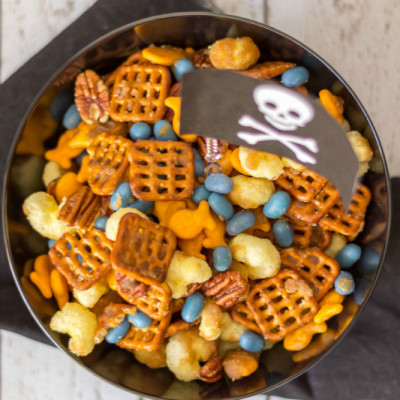
Pirate Munch Party Mix
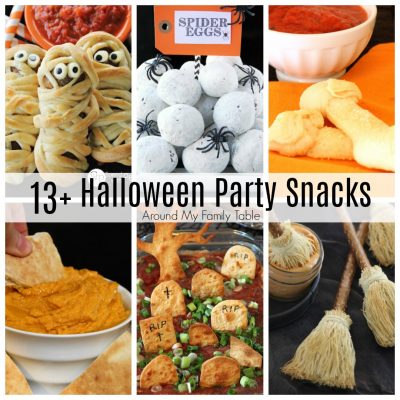
Halloween Party Snacks

Guinness 40th Birthday Party
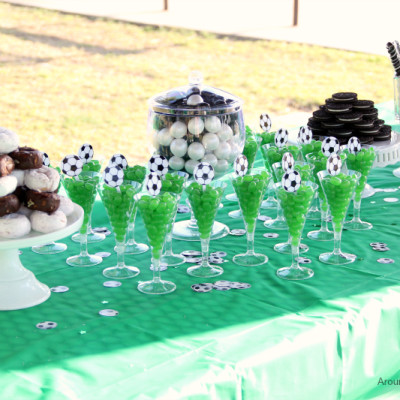
Soccer Theme Party Ideas
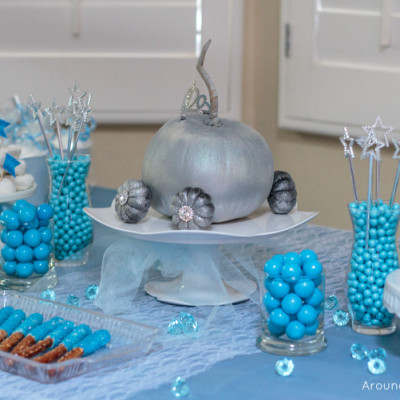
Cinderella Theme Party
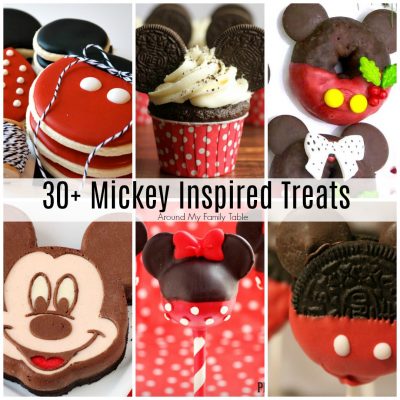
30+ Mickey Inspired Treats
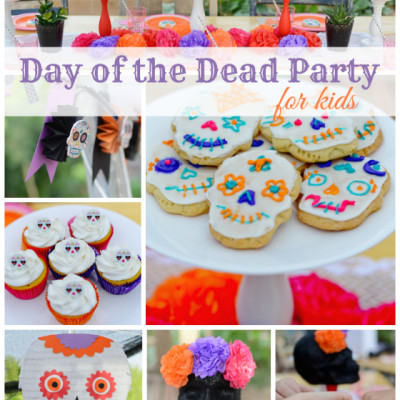
Day of the Dead Party
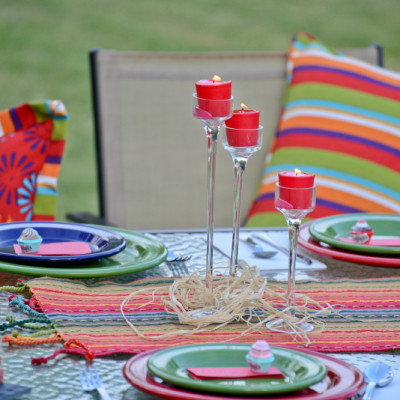
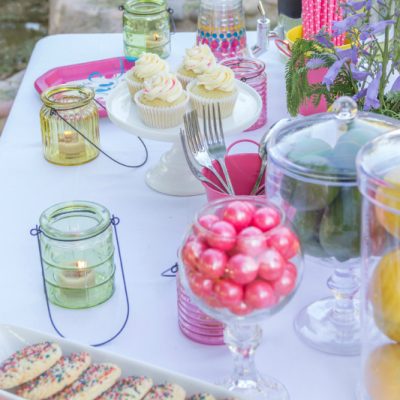
Summer Outdoor Oasis Party
Hosting a Dinner Party on a Budget
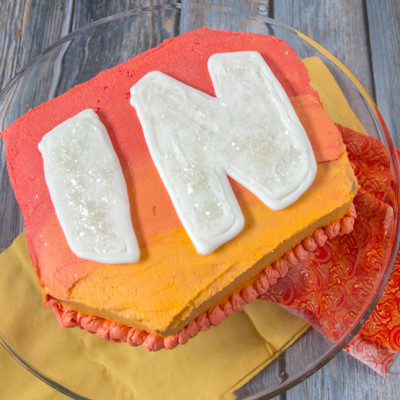
Disney Infinity Cake Tutorial
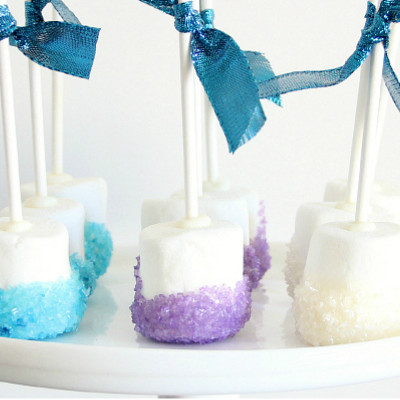
FROZEN Hot Chocolate and Snowflake Marshmallow Pops
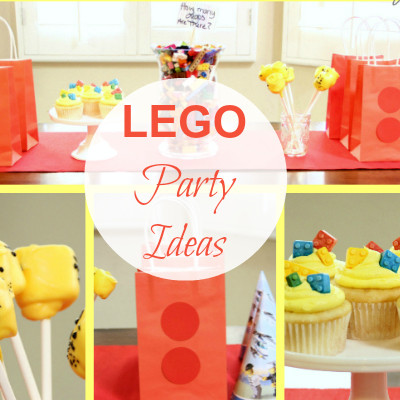
Lego Party Ideas
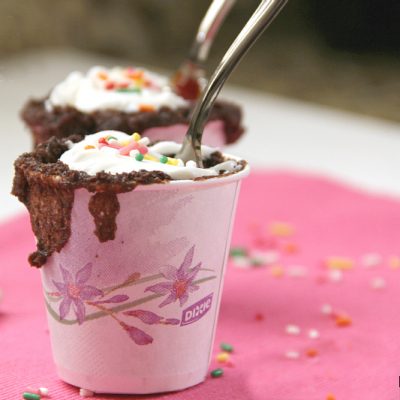
1 Minute Dixie Cup Cakes
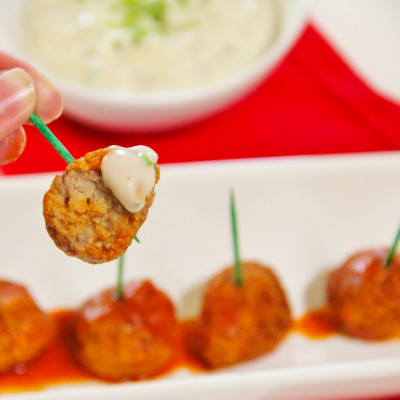
Buffalo Meatballs with Dairy Free Ranch Dressing
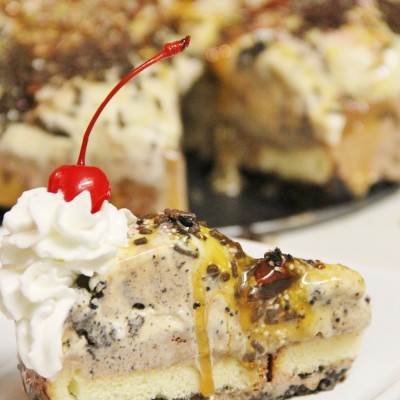
Build Your Own Ice Cream Cake
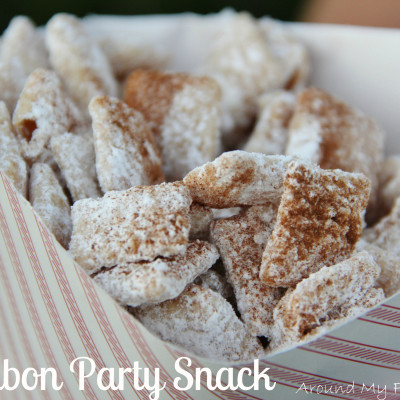
Cinnabon Party Snack
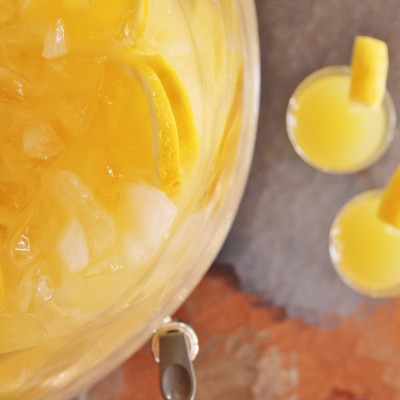
Pineapple Lemonade Punch
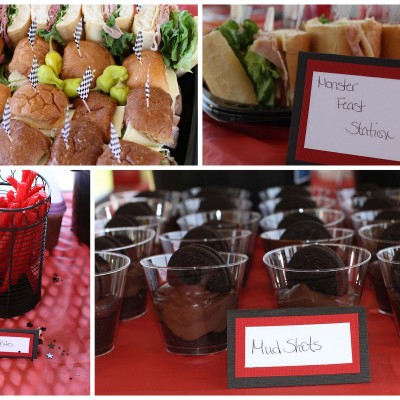
Monster Truck Birthday Party
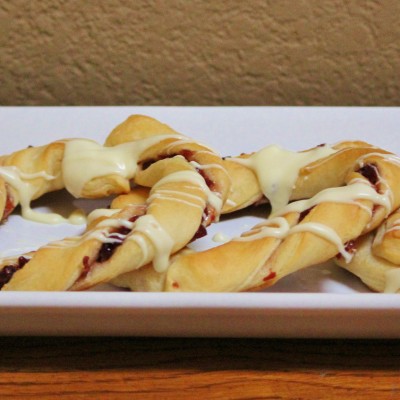
Crescent Cranberry Wreaths
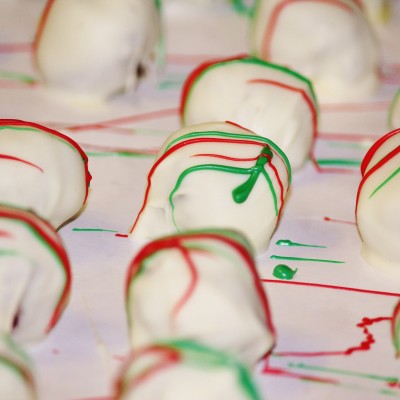
Cake Truffles