
Keto Chicken, Bacon & Spinach Salad
Easy Homemade Strawberry Pudding

Easy Strawberry Pie Recipe
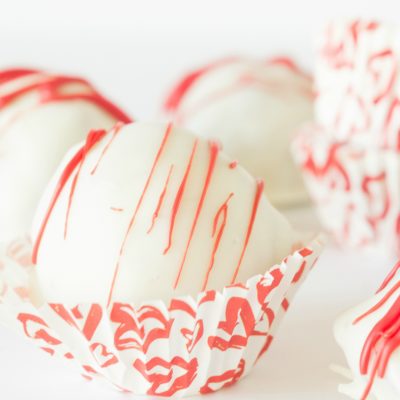
Strawberry Oreo BonBons
Sparkling Strawberry Floats
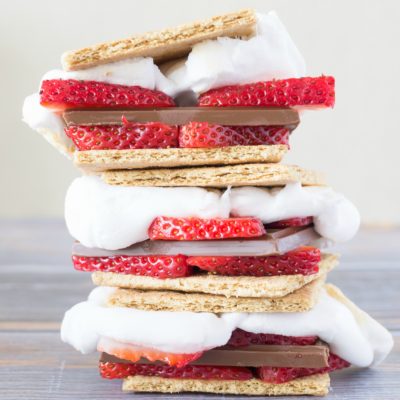
Chocolate Covered Strawberry S’mores

17 Summer Berry Recipes
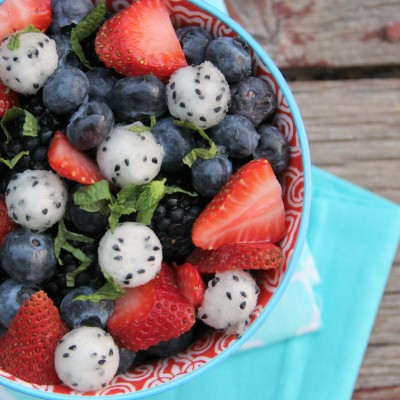
Dragon Fruit Salad
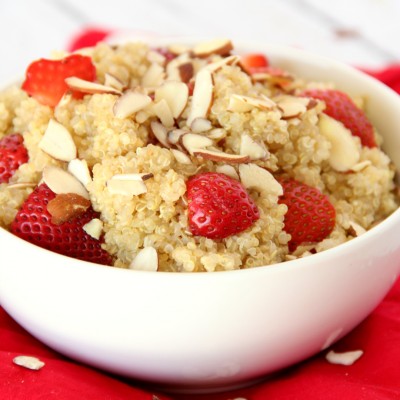
Honey and Strawberry Almond Quinoa
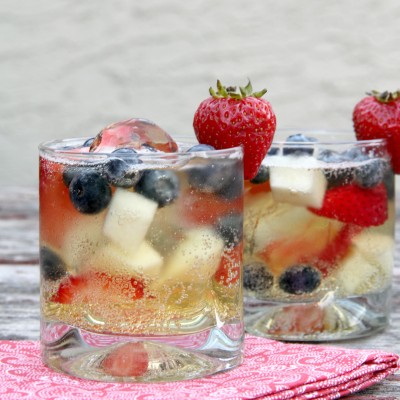
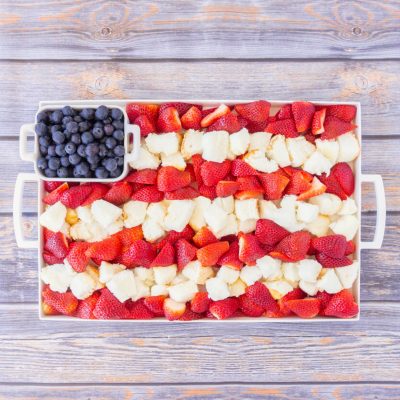
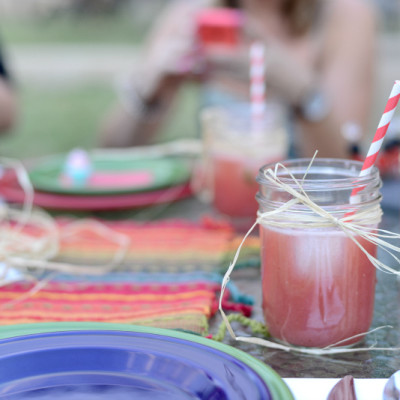
Red White and Blue Sparkling Cider
Summer Berry Smoothie
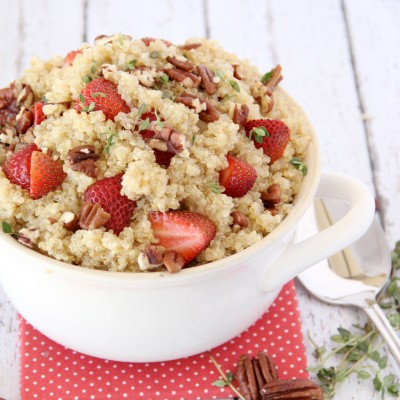
Sweet Strawberry and Pecan Quinoa Salad
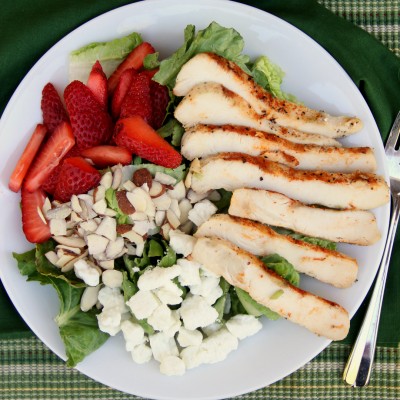
Strawberry Almond Chicken Salad
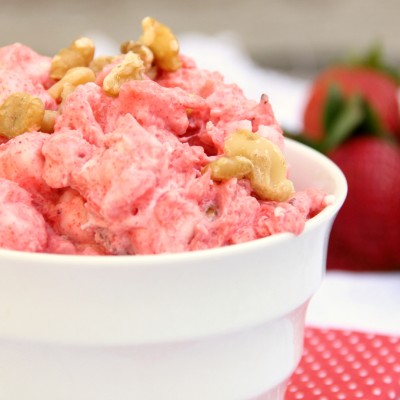
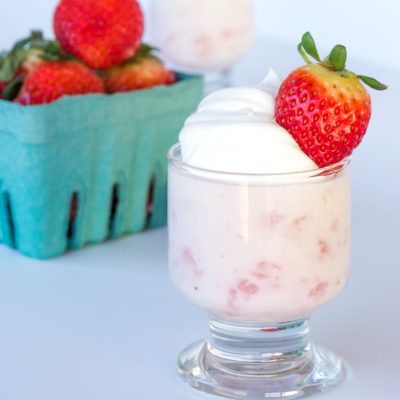
Strawberry Fluff
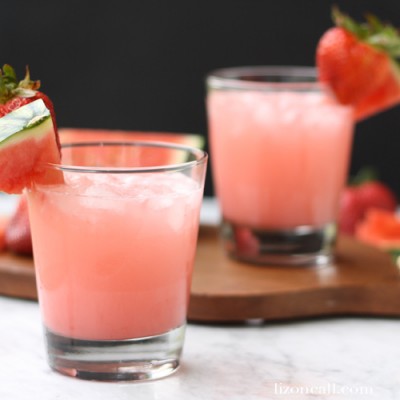
Tiger’s Blood Party Punch Cocktail
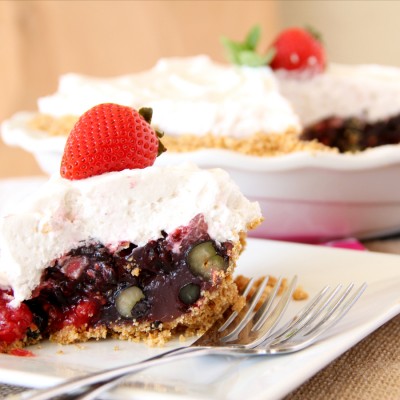
No Bake Triple Berry Pie with Pretzel Crust
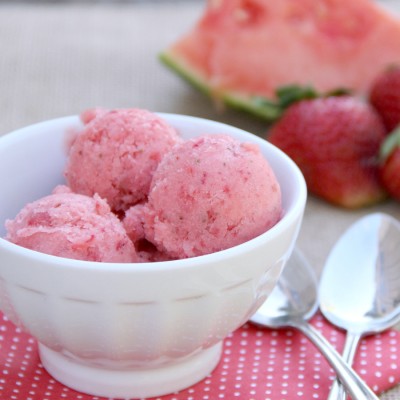
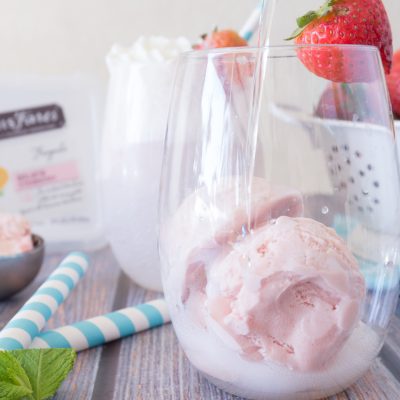
Tiger’s Blood Sorbet
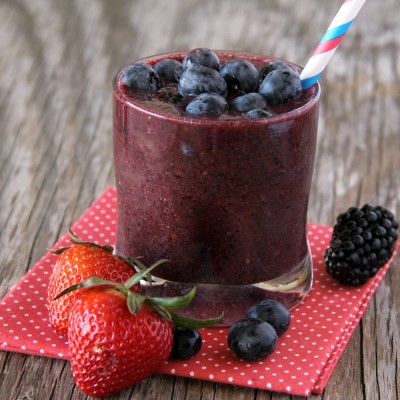
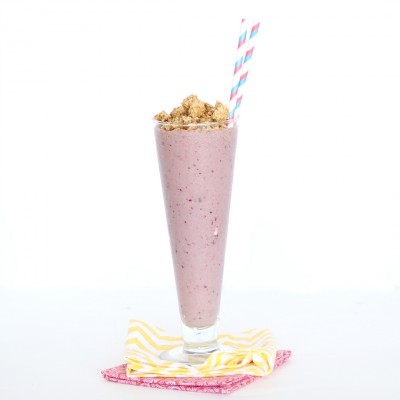
Triple Berry Smoothies
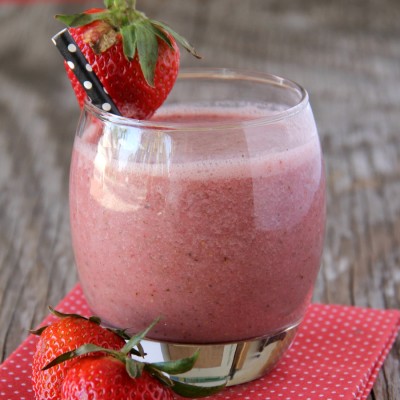
Fresh Strawberry Smoothies
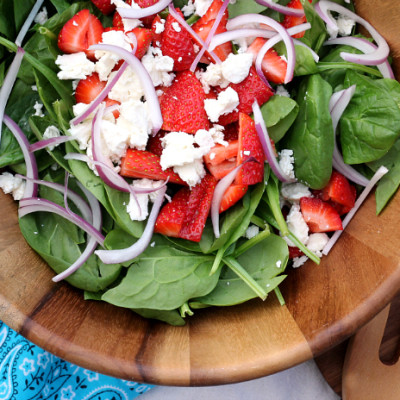
Strawberry & Goat Cheese Spinach Salad
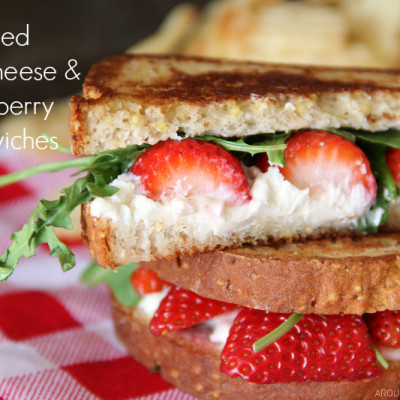
Grilled Strawberry & Goat Cheese Sandwich
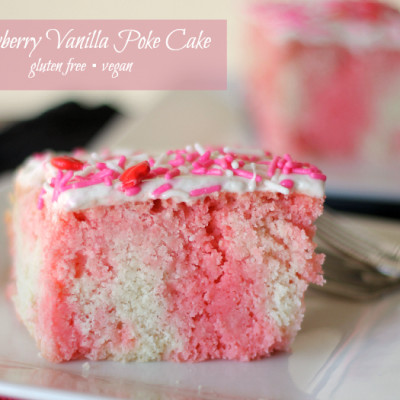
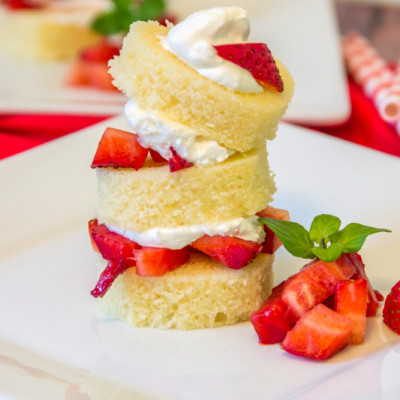
Strawberry Vanilla Poke Cake
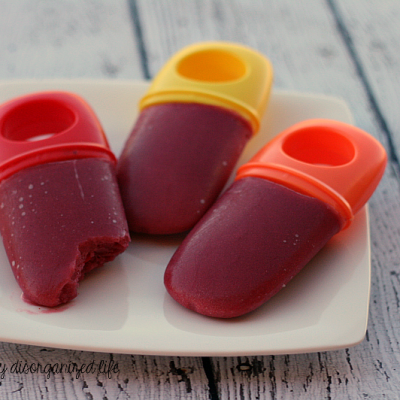
Dairy Free Strawberry Popsicles
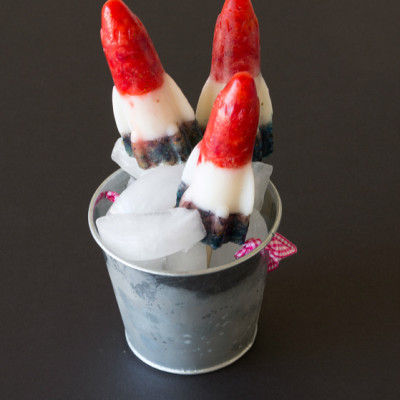
Popsicle Rockets
Watermelon Strawberry Agua Fresca
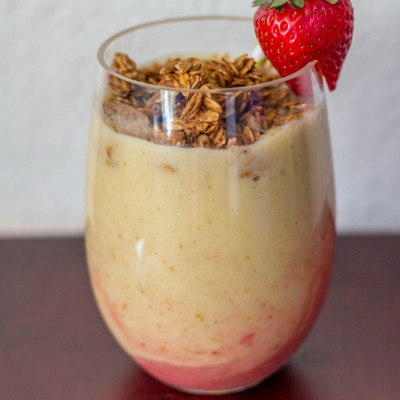
Layered Strawberry Banana Smoothie