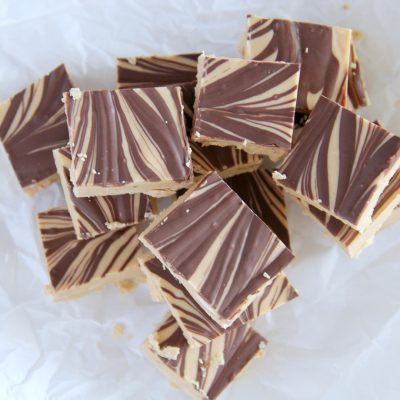
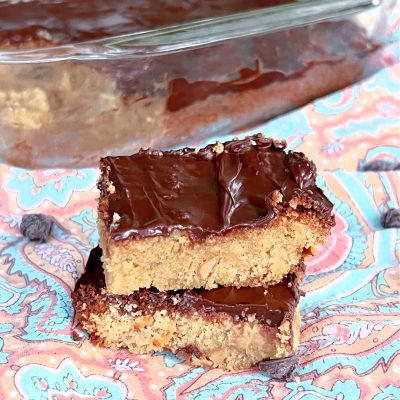
Keto Scotcheroo Cookie Bars
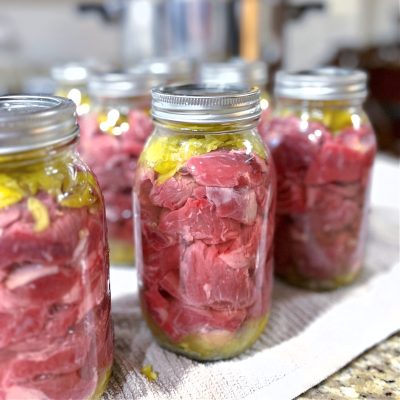
Canned Mississippi Roast
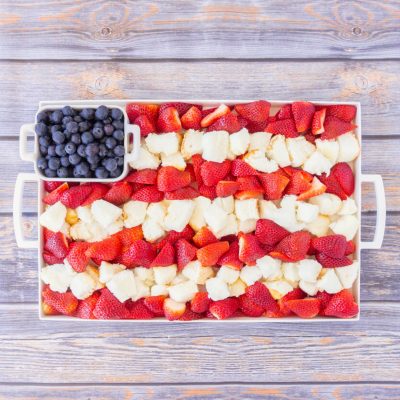
4th of July Fruit Platter (Keto Friendly)
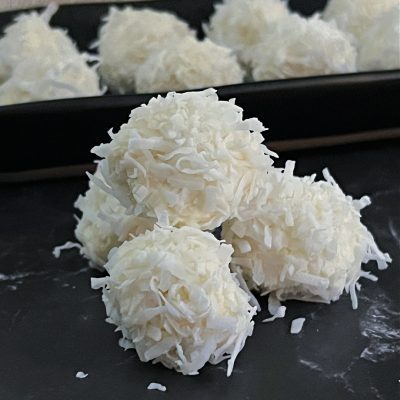
Pina Colada Protein Balls (Keto, No Bake)
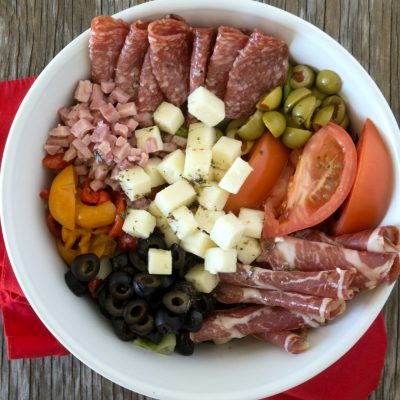
Muffaletta Salad
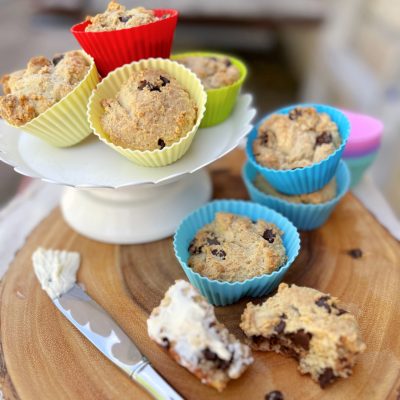
Keto Chocolate Chip Muffins

Homemade Ranch Seasoning Powder

Keto Friendly Travel Tips(+ Video)
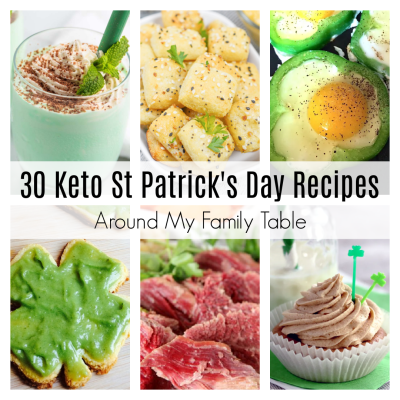
Keto St. Patrick’s Day Recipes
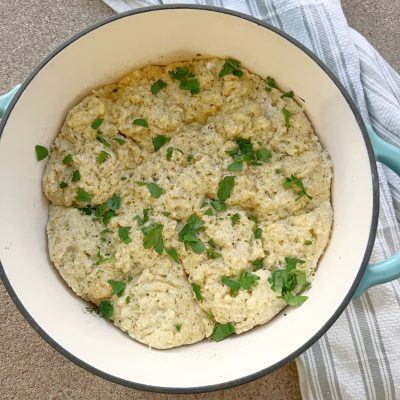
Easy Keto Chicken and Dumplings
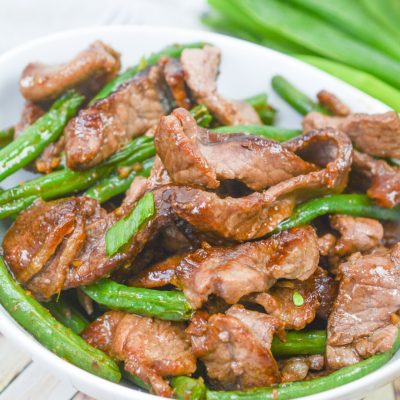
Keto Air Fryer Mongolian Beef
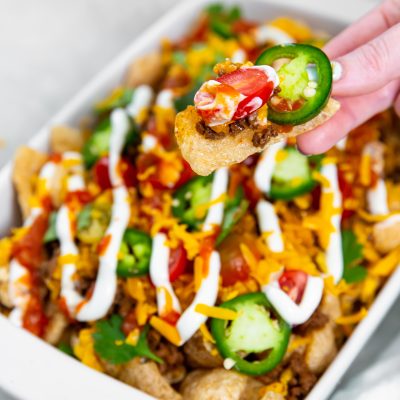
Keto Walking Taco Casserole
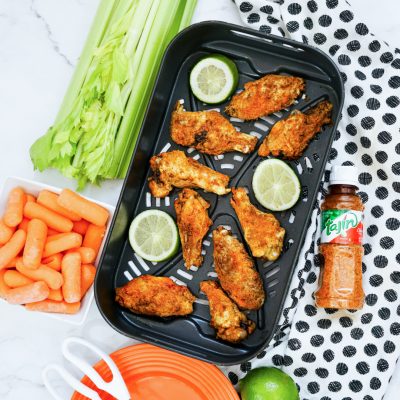
Air Fryer Tajin Chicken Wings
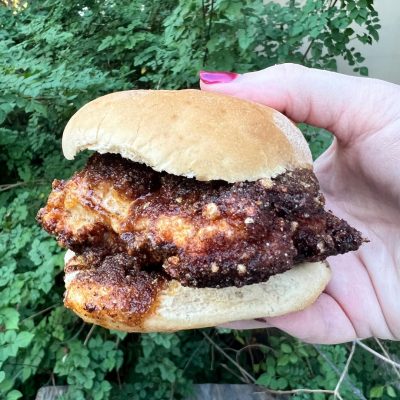
Keto Nashville Hot Chicken Sandwiches {Low Carb – Gluten Free}

Keto Valentine’s Shooter Desserts

Keto Pretzel Bites
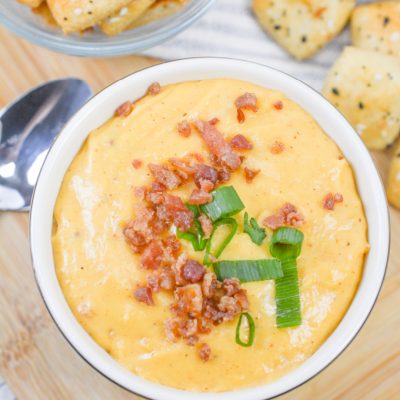
Keto Beer Cheese
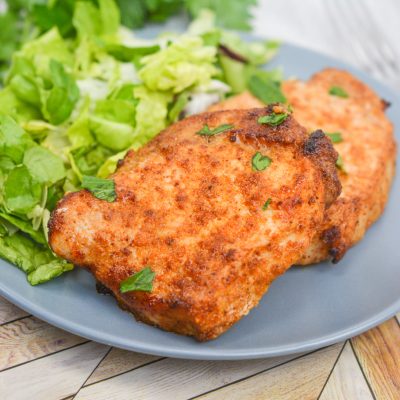
Air Fryer Pork Chops (Keto & Gluten Free)
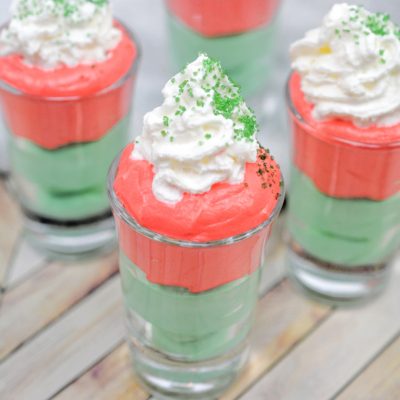
Keto White Chocolate Christmas Shooters
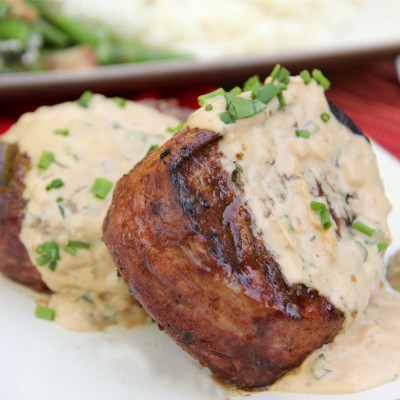
Filet Mignon with Goat Cheese Sauce (Keto – Low Carb)
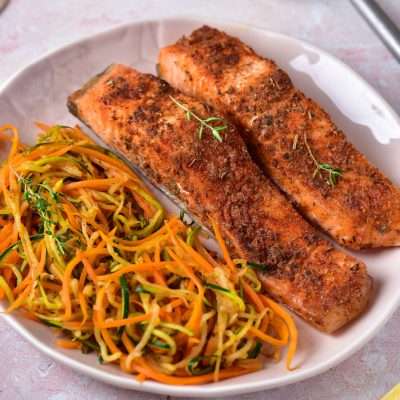
Air Fryer Spiced Salmon (Keto Friendly Recipe)
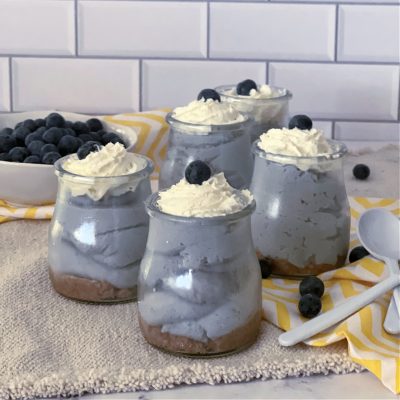
Keto Blueberry Cheesecake Mousse
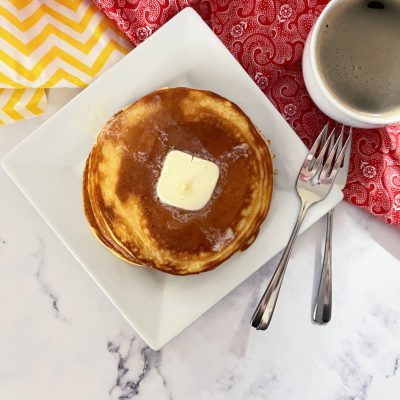
Easy Keto Pancakes (with no flour)
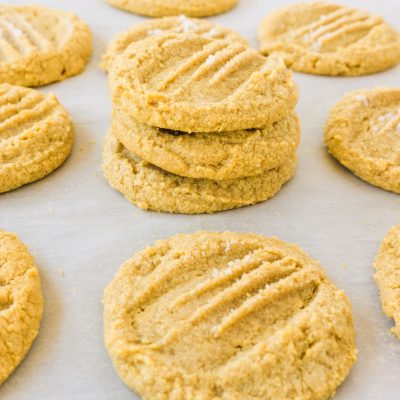
Flourless Peanut Butter Cookies {Keto Friendly}
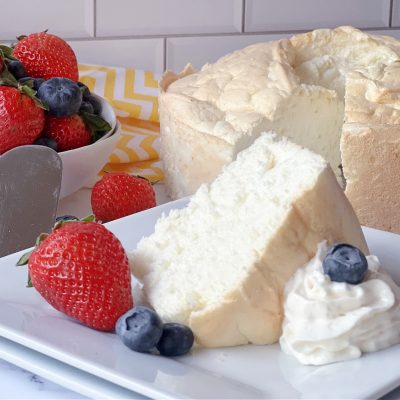
Keto Angel Food Cake

Keto Chicken, Bacon & Spinach Salad